
Last updated September 22, 2026
Free on-site gate assessment - hinges, posts, and your LiftMaster or Nice gate operator checked before anything is quoted
The assessment is free and the quote is the invoice.


 Before
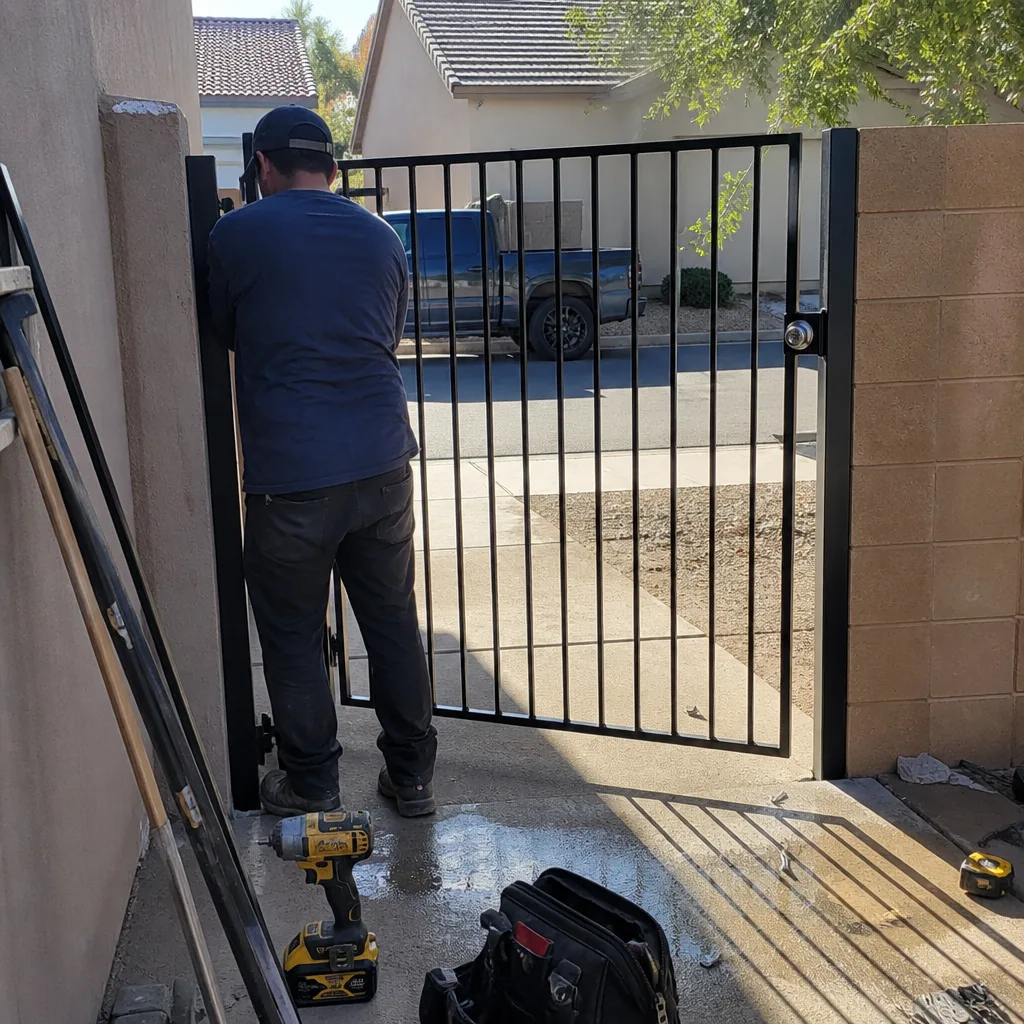 After
After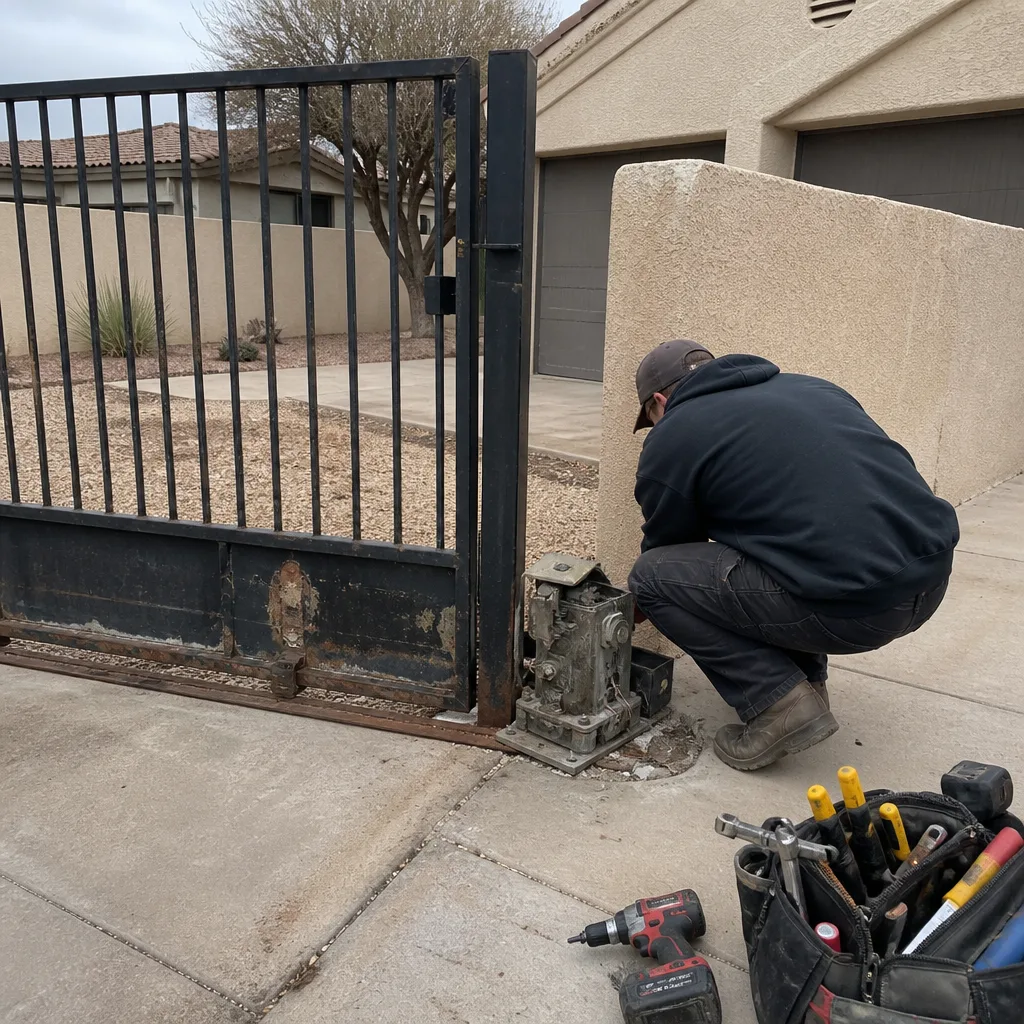 Before
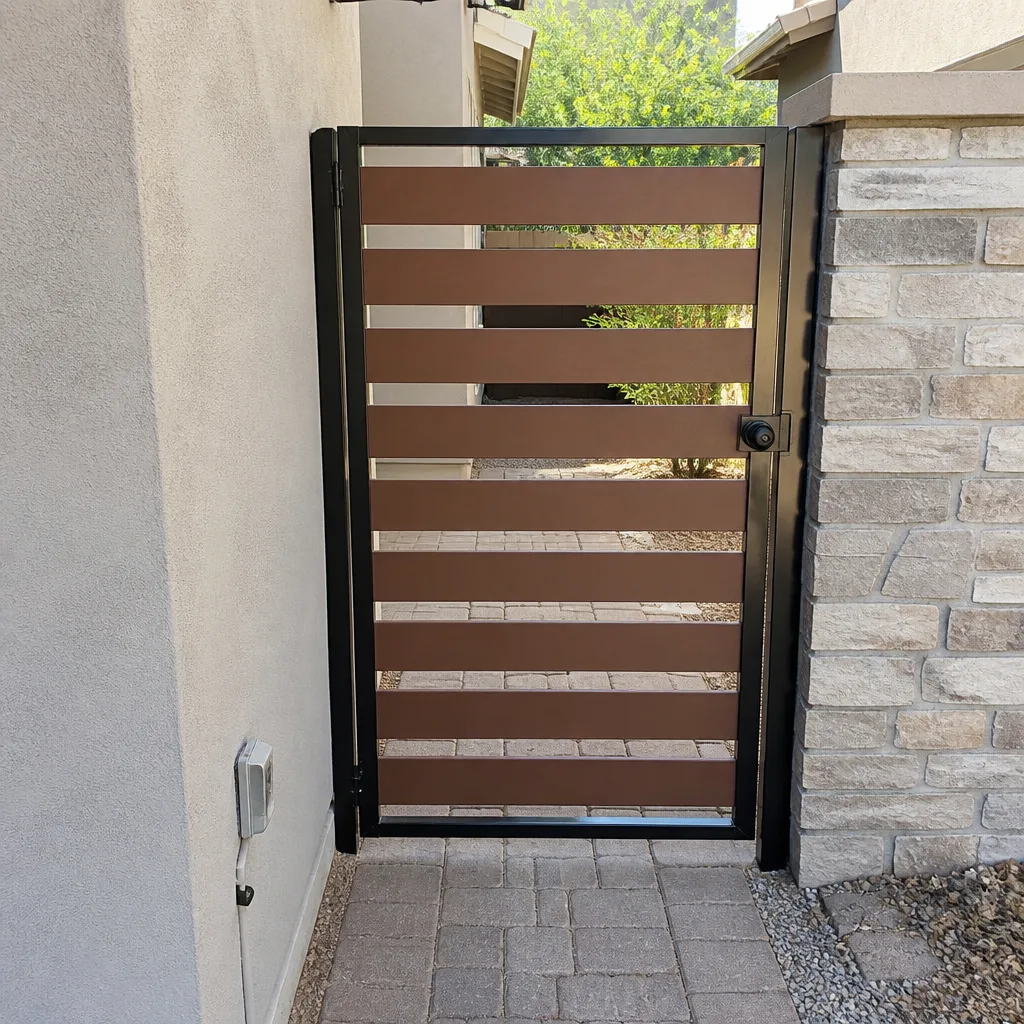 After
After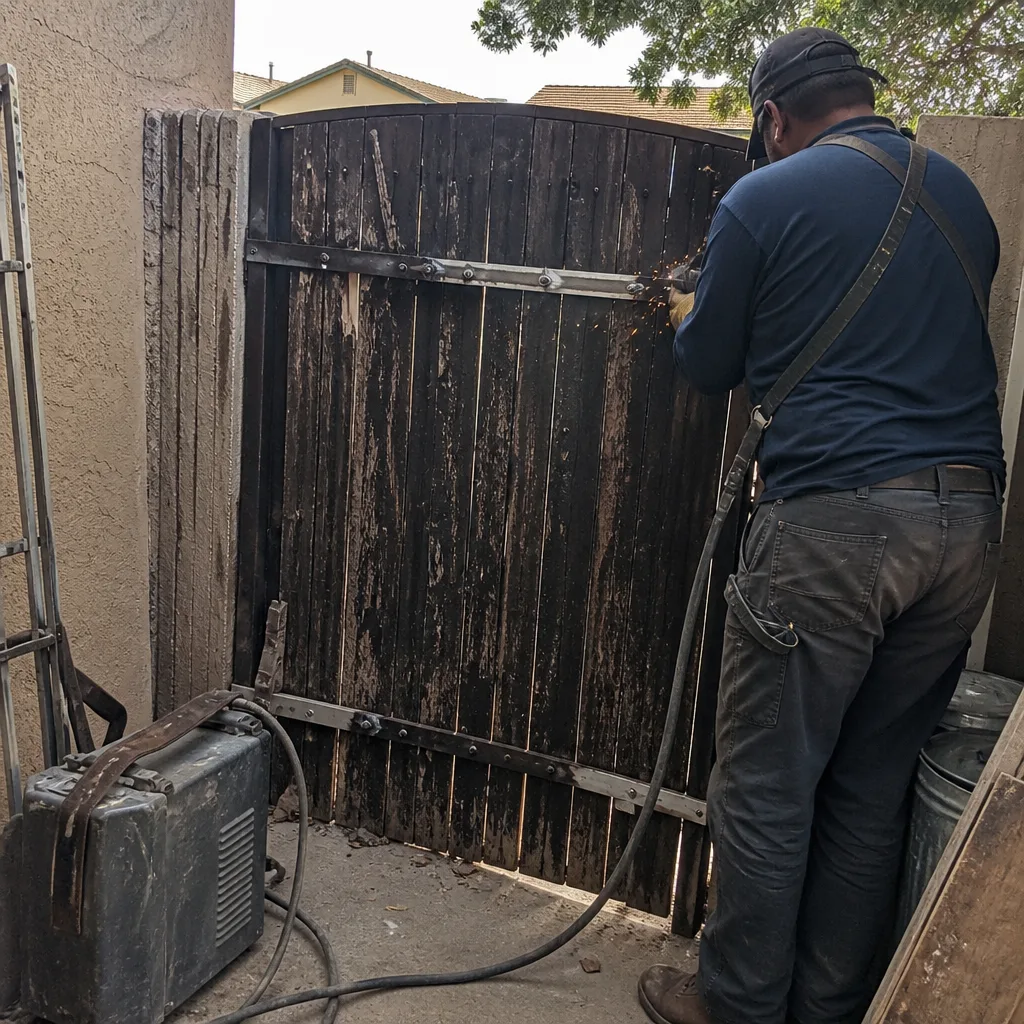 Before
 After
AfterDIY vs Professional Gate Repair: The Gilbert Homeowner’s Decision Guide
Replacing a gate remote or reprogramming a keypad is legitimate DIY work in Gilbert. Adjusting limit switches on that same gate without a current draw meter can burn out a motor in under a week, and no warranty covers that failure when it was self-inflicted. The real question isn’t whether you’re handy - it’s whether the specific task carries liability, safety, or code consequences that make amateur work a financial risk. This guide draws that line at the component level, with Gilbert’s climate, codes, and real Gate Repair services scenarios in mind.
Quick Answer
Most Gilbert homeowners can handle battery changes, remote programming, and debris clearing safely. Tasks requiring electrical testing, tension adjustment, or welding should stay professional due to injury risk and Arizona liability law. When in doubt, document everything before you touch it - photos and measurements save money whether you finish the job or call for help. For more guides & resources, see our blog.
Table of Contents
- The Three-Tier System: What You Can, Should, and Must Not Do Yourself
- Tier 1: Safe to DIY - Remote, Keypad, and Basic Maintenance
- Tier 2: DIY With Proper Tools - When Documentation Matters Most
- Tier 3: Professional Only - Safety, Code, and Liability
- Arizona Liability: What Happens When a Self-Repaired Gate Injures Someone
- Tool Costs vs. Professional Visit: The Real Math
- How to Document DIY Work Like a Professional
- When to Start DIY, Stop, and Call for Help
 Before
 After
AfterThe Three-Tier System: What You Can, Should, and Must Not Do Yourself
Gate repair advice usually splits the world into “DIY people” and “people who hire pros.” That framing wastes everyone’s time. We’ve repaired over 22,000 gates since 2014, and the pattern is clear: the same homeowner who successfully programs a Linear keypad will destroy a gate motor by adjusting the force settings with a screwdriver and optimism.
The dividing line is the component, not the person. Here’s how we sort tasks at Vance Gate Repair Gilbert home when a customer calls asking what they can handle themselves.
Tier 1 - Safe to DIY: No stored energy, no electrical hazard, no structural load. If you make a mistake, the gate stops working temporarily. You call someone, and the fix is straightforward because nothing was damaged.
Tier 2 - DIY With Proper Tools: Low electrical voltage or mechanical adjustment, but requires specific tools and documentation. Mistakes here damage components. The motor burns, the board fries, or the gate slams and bends the track. These tasks are doable if you own the right meter, read the manual, and photograph every setting before you change it.
Tier 3 - Professional Only: High stored energy (springs, counterweights), line voltage, welding, or code compliance. Mistakes cause injury or create liability that homeowner’s insurance may not cover. In Gilbert, this includes any modification to the gate’s entrapment protection system under current Pima County-adopted standards.
Most gate failures involve multiple tiers. A gate that won’t close might have a misaligned photo-eye (Tier 1), a limit switch that needs recalibration (Tier 2), and a frayed cable that’s about to snap (Tier 3). The homeowner who fixes the first two and misses the third has made the gate operational but more dangerous than when it was broken.
Tier 1: Safe to DIY - Remote, Keypad, and Basic Maintenance
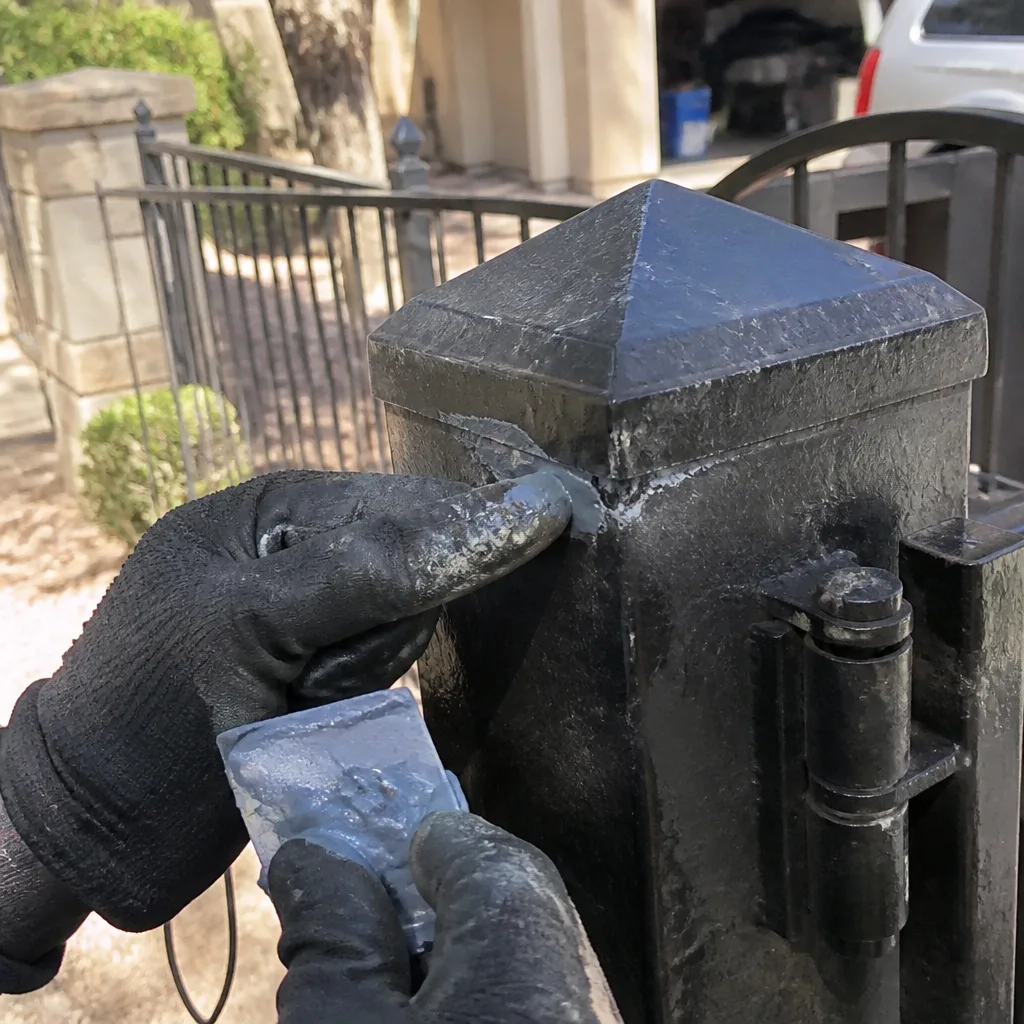
These tasks carry minimal risk and require no special tools beyond what most Gilbert homeowners already own.
Remote and Keypad Programming
Every major brand - LiftMaster, Linear, Viking, Ghost Controls - publishes programming instructions online. The process is usually: press the learn button on the receiver, press the button on the remote within 30 seconds, wait for the LED confirmation. Keypads add a step for PIN entry.
Where homeowners go wrong: they clear all existing codes instead of adding one, or they program the remote while standing too far from the receiver and the signal partially registers. The gate then responds intermittently, which looks like a mechanical problem but is just corrupted memory.
Documentation tip: Before you press learn, photograph the receiver’s LED pattern and count how many remotes currently work. If you accidentally clear everything, that photo tells the next technician what brand and frequency to restore.
Photo-Eye Cleaning and Alignment Check
The photo-eye (the infrared beam that stops the gate if something crosses the path) gets dirty, spider-webbed, or knocked by landscapers. Cleaning the lens with a dry cloth and checking that both housings face each other directly solves maybe 15% of “gate won’t close” calls we get in Gilbert.
The alignment check needs no tools: close the gate manually, block the beam with your leg, and try to activate the gate. It should refuse to move. Remove the block; it should move. If this test fails after cleaning, the eyes may be misaligned or one may be failing. That’s Tier 2 - you need a multimeter to test the receiver’s output voltage.
Debris Clearing and Track Cleaning
Gilbert’s monsoon season dumps debris into slide-gate tracks and swing-gate paths. Clearing rocks, packing material, and the occasional packrat nest is straightforward maintenance. Use a shop vacuum for fine dust; grit in the track accelerates roller wear.
Check the track for fresh metal shavings - they indicate a roller or bearing is already failing. Note the location and call before the roller seizes. A seized roller on a slide gate overloads the motor every cycle.
Lubrication of Hinges and Chains
Use lithium grease on metal-to-metal contact points, never WD-40 (it attracts dust and dries to a gum in Gilbert’s heat). Apply sparingly; excess grease collects grit. Cycle the gate manually to work it in. This is maintenance, not repair, but neglected hinges cause motors to strain and fail prematurely. Follow our Gate Repair Maintenance Checklist for Gilbert Homeowners to stay ahead of problems.
Tier 2: DIY With Proper Tools - When Documentation Matters Most
These tasks are within reach of a careful homeowner, but only with the right equipment and the discipline to record everything before changing it. We’ve replaced too many motors that were fine until someone “just adjusted” the limit switches.
Limit Switch Adjustment
The limit switch tells the motor where to stop the gate in the open and closed positions. When the gate stops short, or bangs the stop post, the switch needs adjustment. This is a mechanical screw or magnetic sensor position, depending on the brand.
Why this is Tier 2, not Tier 1: The limit switch and the force setting interact. If you extend the travel without checking that the motor still has enough torque to complete the cycle, the motor runs at stall current and overheats. A BFT or Viking motor can burn its winding in days. The replacement costs $400-$900 plus labor.
Required tools: Clamp meter (to read running and stall current), screwdriver set, and the manufacturer’s manual for your specific model. The clamp meter is non-negotiable. If you don’t own one, this task is cheaper to hire than to attempt.
Documentation protocol:
- Photograph the current switch position from multiple angles, with a tape measure visible for scale.
- Record the current draw in both directions before any adjustment.
- Make one adjustment at a time, test, and re-measure.
- Photograph the final position and record final current draws.
Without this record, the next technician has no baseline. We’ve spent hours reverse-engineering “it was working fine until…” situations that a single photo would have prevented.
Control Board DIP Switch Configuration
Some gate operators use DIP switches (small toggle switches in a row) to set features like auto-close time, pedestrian mode, or master/slave pairing for dual gates. Reconfiguring these is safe electrically - low voltage, no stored energy - but the combinations are not intuitive. A misplaced switch can enable “party mode” (gate stays open) or disable the safety loop entirely.
Required tool: The manufacturer’s configuration chart, usually a sticker inside the control box or a PDF online. Photograph the original switch positions before touching anything. One misplaced switch can take an hour to identify if you don’t know the starting state.
Low-Voltage Wiring Troublesuits
Photo-eyes, safety loops, and keypads run on low voltage, typically 12-24 VAC or DC. Tracing an open circuit is methodical work: test voltage at the board, at the splice, at the device. When voltage is present at the board but absent at the device, the break is between them.
Required tool: Multimeter with DC voltage and continuity settings. Cost: $30-$80 for a competent unit. Also required: wire strippers, waterproof splice connectors, and the patience to test one segment at a time.
The risk: Gilbert’s summer heat degrades wire insulation in conduit. A homeowner probing with a metal screwdriver can short the low-voltage supply, which usually just blows a fuse on the board. But if you mistake a line-voltage terminal for low-voltage - some older operators have both in the same box - the consequence is severe. Verify with the meter before touching anything.
Tier 3: Professional Only - Safety, Code, and Liability
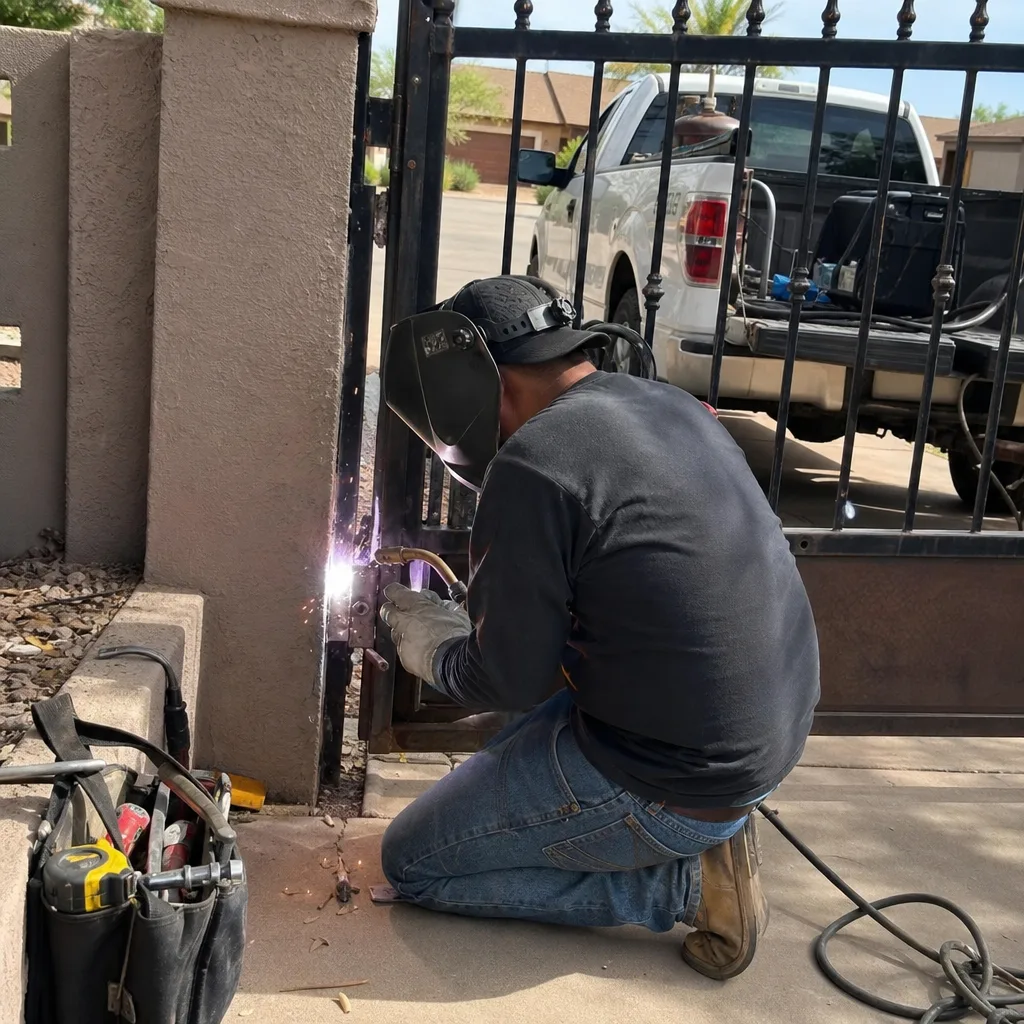
These tasks carry injury risk, code compliance requirements, or liability exposure that makes DIY work inadvisable regardless of skill level. Gate Repair in Gilbert covers these services when the situation requires it.
Spring and Counterweight Systems
Some heavy swing gates and vertical-lift gates use torsion springs or counterweights to balance the load. These store significant mechanical energy. A winding bar slipping from a torsion spring cone can break bones. We’ve seen homeowners attempt to re-tension a spring with a pipe wrench; the result was an emergency room visit and a gate that needed more repair than when they started.
Safety caveat: If your gate uses springs, cables, or counterweights, do not attempt adjustment, removal, or replacement. The force required to move a 600-pound gate is not intuitive, and the failure mode is sudden and unforgiving.
Welding and Structural Repair
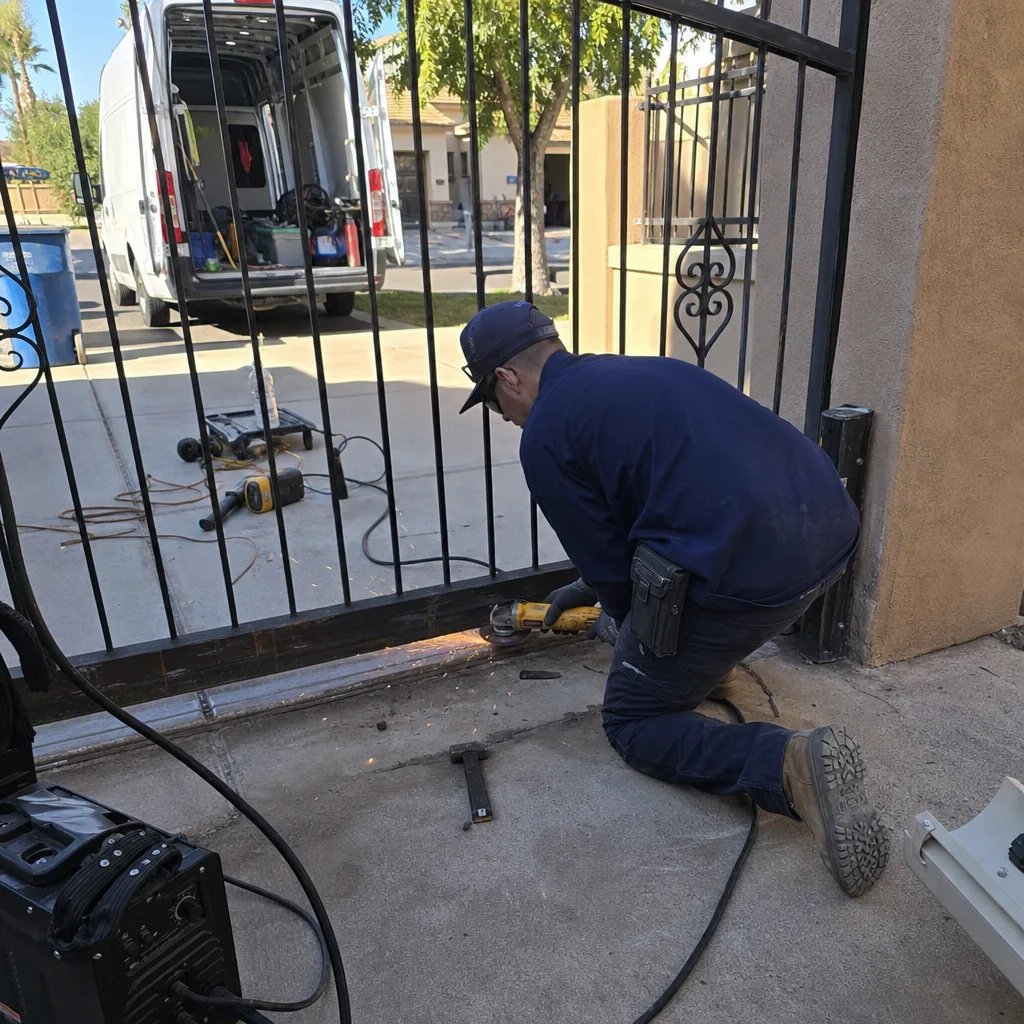
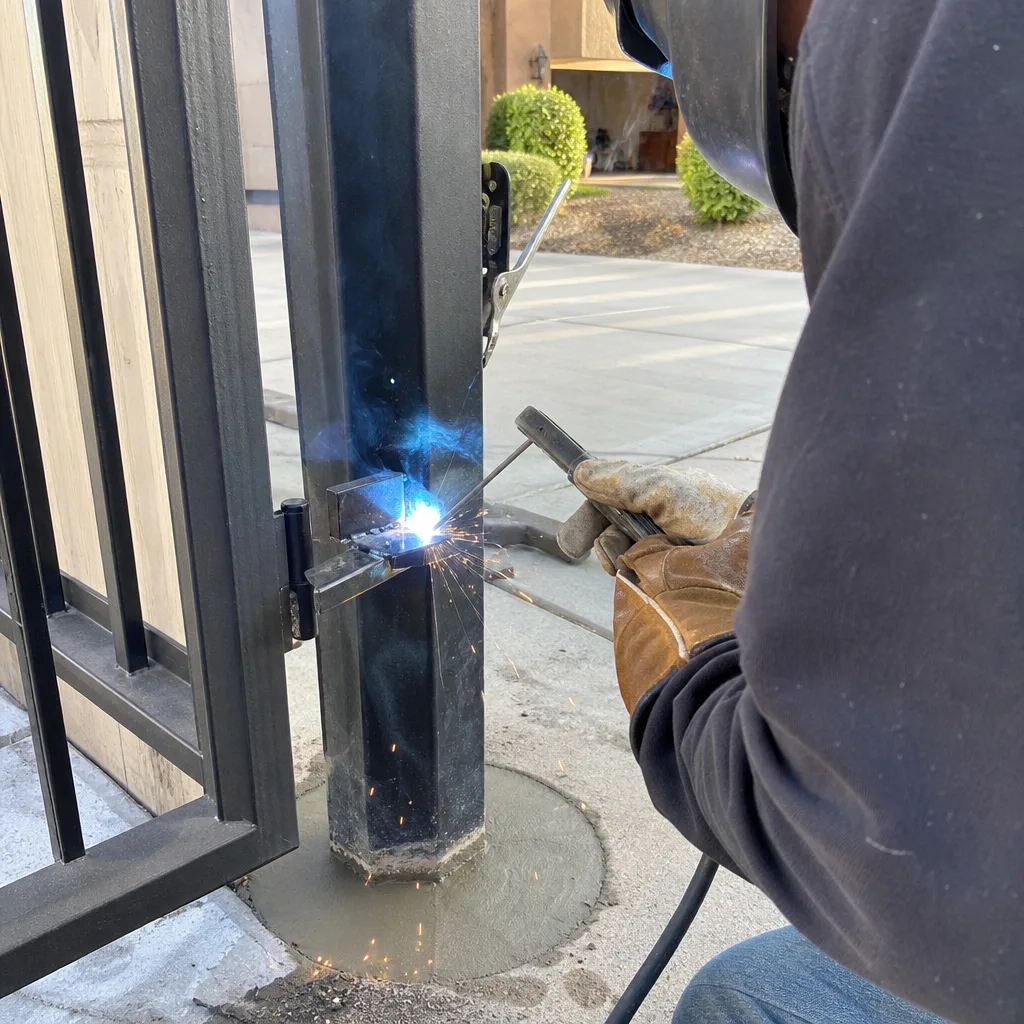
Cracked gate frames, broken welds at hinge points, and bent track require welding or replacement. This is not a skill issue; it’s a code and liability issue. Any welded repair to a gate that serves a multi-family property or commercial site in Arizona requires a licensed contractor under Gate Installation in Gilbert standards. Even on single-family residences, a weld that fails and injures someone creates liability that homeowner’s insurance may dispute if the work was unlicensed.
Electrical Supply Modifications
Installing a new 240V circuit for a gate operator, extending conduit underground, or adding a subpanel at the gate location requires a licensed electrician in Arizona. This is not gate repair; it’s electrical work governed by the NEC and local amendments. The gate technician who arrives to install your motor will not complete this work without an electrician’s involvement, and neither should you.
Entrapment Protection System Modifications
Gate operators manufactured since 2016 must include entrapment protection: photo-eyes, safety edges, or both. Disabling, bypassing, or incorrectly configuring these features violates UL 325 and creates extreme liability exposure. If a child or pet is injured by a gate with disabled safeties, the homeowner’s negligence is clear and documented.
We’ve been called to gates where the previous owner “solved” an intermittent safety issue by taping over the photo-eye LED. The gate worked reliably after that - until it didn’t. Under the Haven Standard, we document any safety bypass we find, refuse to leave it active, and provide the homeowner with a written record of the required repair.
Automatic Gate System Installation
New operator installation, Gate Motor & Opener in Gilbert work, or full gate automation on a previously manual gate is professional work. The sizing calculations - gate weight, length, cycle rate, wind load - determine motor selection. Wrong motor, wrong battery backup, wrong duty cycle: the system fails early and the manufacturer denies warranty because the application exceeded specifications.
Arizona Liability: What Happens When a Self-Repaired Gate Injures Someone
Arizona premises liability law holds property owners responsible for dangerous conditions they knew or should have known about. A gate that injures a visitor - delivery driver, neighbor’s child, utility worker - triggers this standard. The question becomes whether the owner’s repair was reasonable under the circumstances.
Here’s where DIY gate repair becomes a financial exposure problem:
- Unlicensed electrical work: If the injury involves electrical shock from a gate circuit the homeowner wired, homeowner’s insurance may deny coverage based on unlicensed-work exclusions. Arizona does not require a license for all residential electrical work, but insurers write their own terms.
- Disabled safety devices: Bypassing a photo-eye or safety edge is foreseeable negligence. Punitive damages become possible if the bypass was deliberate and the risk was obvious.
- Improper repair of a known defect: The homeowner who “fixed” a gate that later failed has a harder defense than one who never touched it. The repair attempt demonstrates awareness of the hazard, and the failure of that repair suggests unreasonable care in how it was done.
Gilbert’s municipal code adopts Pima County building standards for gate installations, including requirements for entrapment protection on automatic gates. Unpermitted work on a gate that serves a commercial or multi-family property violates these standards and complicates any defense. Even single-family homeowners should understand: the gate that seemed like a private convenience becomes a public liability the moment someone else is injured by it.
Our documentation practice exists partly for this reason. When we repair a gate under the Haven Standard, the written record and photo log show what was found, what was done, and that the work met applicable standards. A homeowner’s notebook of measurements serves the same purpose if the work was competent - but most DIY repairs leave no record at all.
Tool Costs vs. Professional Visit: The Real Math
Homeowners often compare the cost of tools to the cost of a service call and conclude DIY saves money. The comparison needs to include the cost of mistakes, the value of documentation, and the frequency of use. See our Gate Repair Cost Breakdown: The Gilbert Homeowner’s Reference for 2026 for detailed pricing.
| Tool | Cost (New) | Used For | Professional Visit for Same Task |
|---|---|---|---|
| Digital multimeter | $35-$80 | Voltage testing, continuity, low-voltage troubleshooting | $150-$250 service call + diagnosis |
| AC clamp meter | $50-$150 | Motor current draw, stall detection | $150-$250 service call + diagnosis |
| Torque wrench (1/2″ drive) | $40-$100 | Proper bolt tension on hinge and bracket hardware | Included in repair labor |
| Wire stripper/crimper set | $25-$60 | Low-voltage splice repair | $150-$250 service call + diagnosis |
| Inspection camera (borescope) | $30-$80 | Viewing inside conduit, checking track interior | $150-$250 service call + diagnosis |
The clamp meter is the threshold tool. If you own one and know how to use it, limit switch adjustment and motor diagnosis are within reach. Without it, you’re guessing at the one measurement that prevents motor damage.
But consider: a single misadjusted limit switch that burns a Linear or Ghost Controls motor costs $400-$900 to replace. Two professional diagnostic visits - one to fix what you attempted, one to fix what you broke - exceed the cost of owning every tool on this list. The math favors DIY only when the work is done correctly the first time.
For Gilbert homeowners who gate-system issues once every few years, tool investment rarely pays off. For those with multiple gates, rental properties, or a technical background, the tools earn their keep. The honest calculation includes your time, your error rate, and the cost of being wrong.
How to Document DIY Work Like a Professional
The biggest difference between amateur and professional repair isn’t skill; it’s the record left behind. Under Haven Standard Clause 4 (Evidence on every job), our technicians photograph every adjustment and provide a written record of part numbers installed. Homeowners can replicate this discipline with a smartphone and a notebook.
The Photo Log Protocol
- Before photo: Wide shot of the entire gate and operator, then close-ups of every component you’ll touch. Include a tape measure or ruler for scale.
- Settings photo: Any adjustable component - limit switch, DIP switch, force potentiometer - photographed close enough to read the current position. Use flash; shadows obscure markings.
- During photo: If you disconnect wiring, photograph the terminal block before and after. Color-coded wires look obvious until they’re loose and you’re not sure which terminal they came from.
- After photo: Final positions, final settings, and a video of the gate completing a full cycle in each direction.
The Written Record
Date, time, weather (temperature affects gate operation in Gilbert’s summer), and what you observed: “Gate stopped 6 inches short of closed position. Photo-eye LED solid red. Cleaned lens, LED turned green. Gate still stopped short. Adjusted close limit switch 1/4 turn clockwise. Gate now closes fully. Running current 3.2A, stall current 8.1A. Within spec per manual.”
This record saves money whether you finish the job or call for help. When a Vance technician arrives to a gate with this documentation, diagnosis takes minutes instead of hours. We charge for our time; documentation reduces it.
Part Number Preservation
If you replace a component - remote battery, photo-eye, keypad - save the old part and its packaging. The part number on a failed component tells us about the system’s history. A photo-eye that failed after 18 months suggests voltage issues or counterfeit product. A battery that swelled indicates charger malfunction. These clues guide proper repair and prevent repeat failure.
When to Start DIY, Stop, and Call for Help
There’s a correct sequence that saves money and prevents damage: investigate, document, attempt only what you understand, and preserve evidence when you stop. The homeowner who disassembles a motor gearbox, can’t reassemble it, and throws the parts in a box has made professional repair more expensive, not less.
Safe Start Sequence
- Observe and record the symptom: when it happens, what sounds accompany it, whether it’s consistent or intermittent.
- Check Tier 1 items: power, debris, photo-eye cleanliness, remote battery.
- If Tier 1 doesn’t resolve it, photograph everything and attempt only the Tier 2 task you have tools for.
- If the Tier 2 task doesn’t resolve it, or if you encounter anything unexpected - burnt smell, melted wire, cracked casting - stop. Do not reassemble to “make it look neat.” Leave components where they are.
What to Preserve
When you stop and call for help, preserve:
- The original settings, if you haven’t already changed them. If you did change them, your documentation.
- Any failed component, even if it looks destroyed. We diagnose from failure mode.
- The exact sequence that produced the symptom. “It makes a grinding noise every third cycle” is more useful than “it’s broken.”
- Your photo log, shared via email or text before the technician arrives.
We’ve had Gilbert homeowners save hundreds in diagnostic time by sending us a photo log before we dispatch. Under Haven Standard Clause 1, we still perform our own assessment and provide a written price before work starts - but we start from a much better position.
Common Mistakes to Avoid
- Adjusting force settings to compensate for mechanical binding. A gate that requires more force to close has a mechanical problem - track obstruction, bent roller, dry hinge. Raising the force setting masks the problem until the motor fails or the gate injures someone. Fix the binding; don’t overpower it.
- Programming a remote without clearing old corrupted codes first. Some operators have limited memory slots. Adding a remote to a full or corrupted memory causes intermittent operation that looks like a range or antenna problem. Clear and relearn all remotes as a set.
- Ignoring seasonal thermal expansion. Gilbert’s 40-degree summer-winter swing changes gate alignment on metal frames. A gate that worked in March may bind in July. Adjusting the limit switch seasonally without checking the physical alignment wears the drive system. Check hinges and track first.
- Using the wrong lubricant. WD-40, vegetable oil, and used motor oil all attract dust and gum up in heat. Use lithium grease on metal, silicone spray on plastic guides and weatherstrip. The $8 tube of correct lubricant prevents $200 in premature wear.
- Bypassing safety devices “temporarily.” The photo-eye that “just needs cleaning” but you taped over because guests were arriving. The safety edge you disconnected because it was too sensitive. These temporary fixes become permanent, and permanent bypasses become liability.
- Not verifying voltage before touching terminals. Even “low voltage” control boards have line-voltage terminals nearby. A slip of the probe or screwdriver bridges them. Test with a meter, work with one hand in your pocket, and know which terminal is which before you touch anything.
- Discarding the manual. Every gate operator has a model-specific manual with diagnostic LED codes, current specifications, and adjustment procedures. The generic YouTube video for “LiftMaster gate opener” may not match your specific board revision. Download and keep the manual for your exact model.
When to Call a Professional
Call a professional when the task involves stored mechanical energy, line voltage, welding, or any modification to safety systems. Call when you’ve attempted Tier 2 work and the problem persists - continued attempts without progress usually cause damage. Call when the gate serves a rental property, HOA, or commercial site where liability exposure extends beyond your own household.
Vance Gate Repair Gilbert offers free estimates in Gilbert - call (520) 482-3109. Every estimate includes a written scope and price before any work starts, under Haven Standard Clause 1. If you’ve already received a written estimate from another company, we’ll review it at no cost and provide a second opinion.
Frequently Asked Questions
Most residential gate repairs in Gilbert range from $180 for a simple photo-eye realignment or limit switch adjustment to $850 for motor replacement with a mid-tier operator. Welding, structural repair, or access-control integration runs higher depending on materials and code requirements. We provide a written, itemized price before any work starts - no estimate ranges that balloon on the invoice. Call (520) 482-3109 for an exact quote; estimates are free.
You can, but only with a clamp meter to verify the motor isn’t drawing stall current after your adjustment. Without this measurement, you’re guessing at the setting that prevents motor damage. The tool costs $50-$150; a burned motor costs $400-$900. If you don’t own the meter or don’t know how to use it, this task is cheaper to hire than to attempt incorrectly.
Arizona premises liability law applies. If your repair was unreasonable - unlicensed electrical work, disabled safety devices, or improper structural repair - your homeowner’s insurance may deny coverage or pursue subrogation against you. Documenting your work helps, but doesn’t eliminate exposure. Professional repair with licensed, insured technicians transfers this risk appropriately.
Measure the running current with a clamp meter and compare to the manufacturer’s specification on the nameplate or manual. Current 15% above spec indicates mechanical binding or internal motor wear. Current at or near stall rating indicates a physical obstruction or failed capacitor. Intermittent operation - works cold, fails hot - usually means internal winding damage. A motor drawing spec current but running hot to touch is also failing. These measurements take two minutes with the right tool; guessing takes hours and often destroys the motor.
We service nine major automation brands: LiftMaster, FAAC, BFT, Linear, Viking, Ghost Controls, DoorKing, Elite, and Mighty Mule. We don’t steer customers toward replacement when repair is viable, and we don’t limit service to brands we sell. If your operator is on this list, we can diagnose, repair, and document the work under the Haven Standard. Call (520) 482-3109 to confirm availability for your specific model.
Under Haven Standard Clause 4, every visit includes a photographed record of what was found, what was adjusted, what was replaced, and the final settings. You receive a copy with the invoice; we retain the job record for future reference. This documentation prevents repeat diagnosis, supports warranty claims, and provides evidence of proper repair if liability questions arise. No additional charge.
The Bottom Line
The DIY-vs-professional question for gate repair isn’t about whether you’re handy. It’s about whether the specific task has consequences you can afford to get wrong. Remote programming and debris clearing have low stakes; limit switch adjustment without proper tools and motor replacement with mismatched specifications have high ones. In Gilbert’s climate, where thermal expansion and monsoon debris create seasonal issues, the homeowner who maintains diligently and knows when to stop saves more than the one who attempts everything. Document what you do, preserve what you find, and call before the small problem becomes an expensive one. The written price, the photo record, and the 365-Day Done Right Promise exist so you never pay twice to solve the same gate problem.
Written by Adrian Vance, Owner at Vance Gate Repair Gilbert, serving Gilbert since 2014.